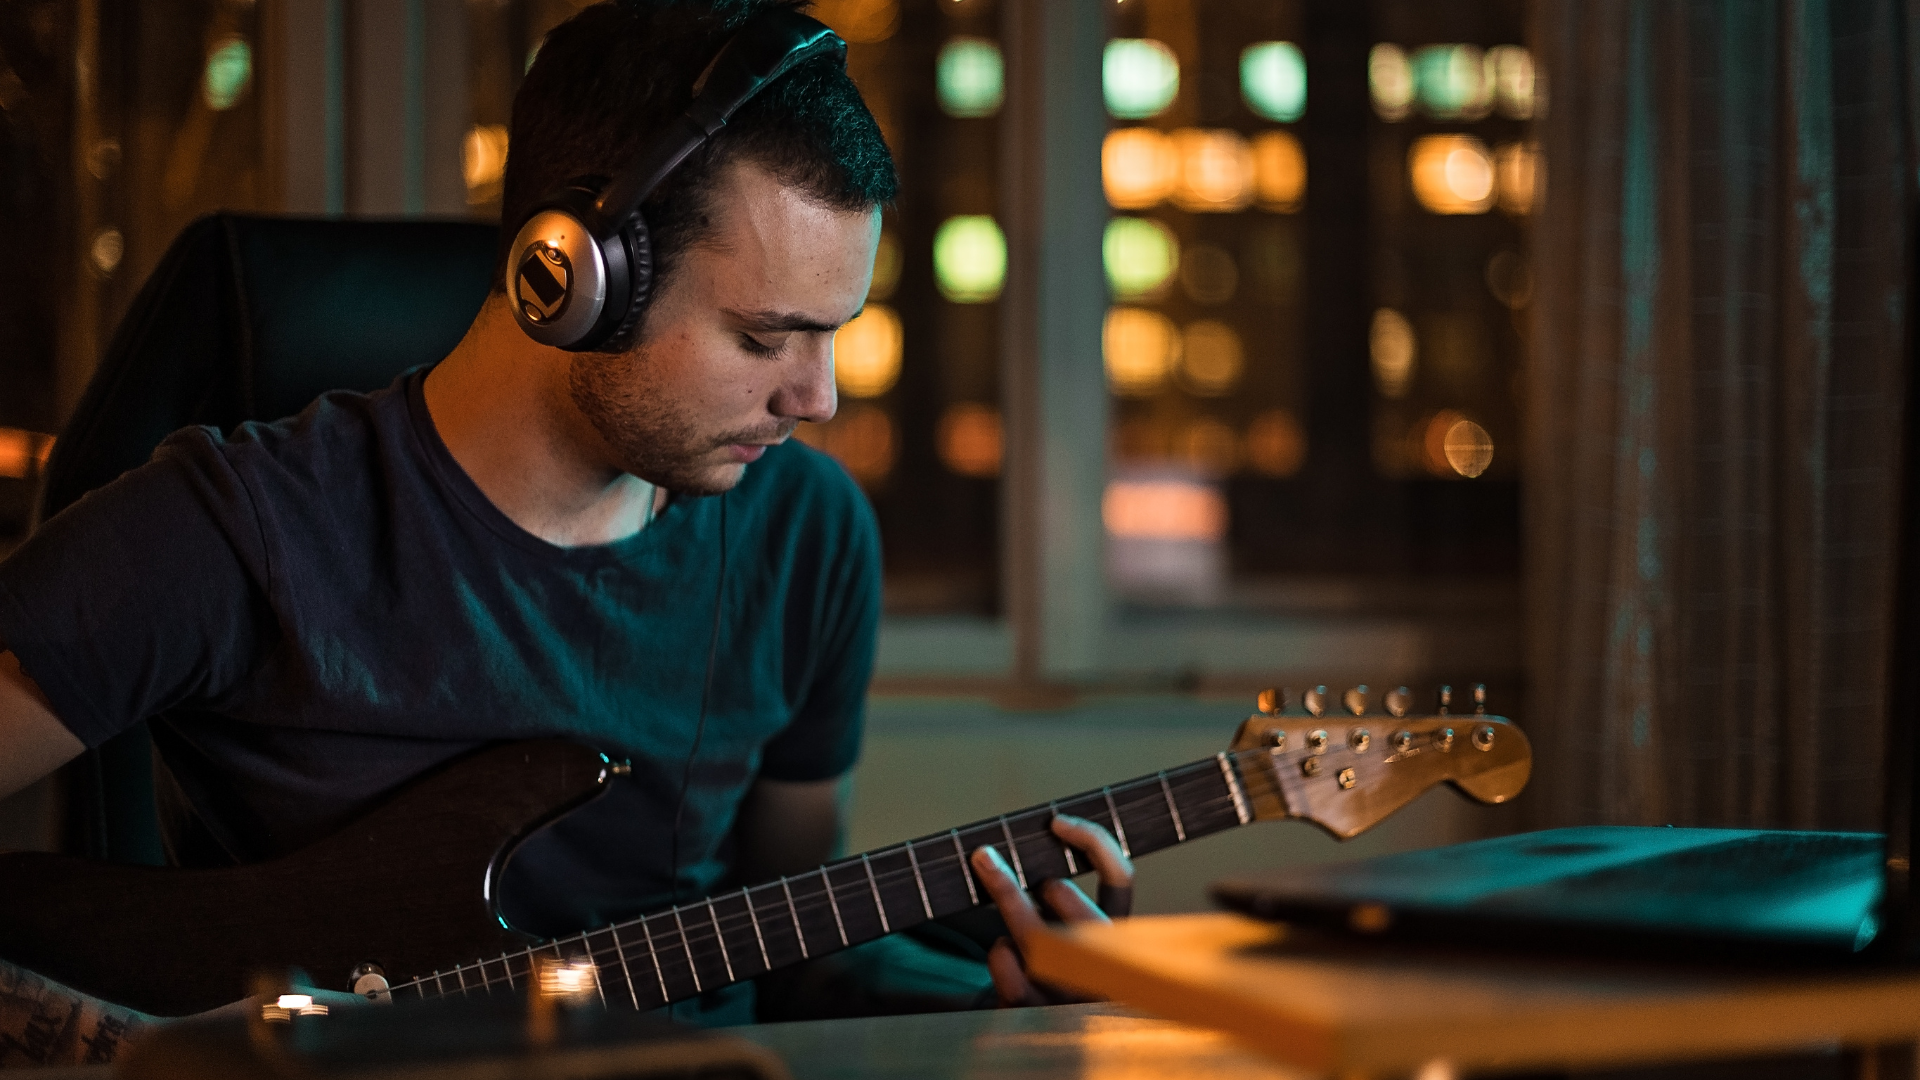
Recording Guitar at Home
The era of professional recording has come to an end. This technological change has dramatically changed the way how you make music. You can now make great guitar recordings at home, provided that you have the necessary equipment and know what you’re doing.
During the golden days of rock, the recording was a chore. There were no affordable methods to get the best results, and the only way to do so was to go to a recording studio. With the rise of technology, it’s now possible to make great music at home without spending a lot of money. In this tutorial, we’ll talk about how to make a great song that will impress everyone.
The first step in becoming a professional musician is to find the proper equipment. Thanks to the rise of home recording equipment, it’s now easier to make and release great music. Over the years, this technology has allowed artists to create and release their music at a high level.
For many aspiring musicians, establishing and maintaining a home recording space can be a long-term investment. They must have the proper equipment and space to make their space look its best.
Getting the right equipment can be daunting, especially due to the number of available options. This article will help you navigate the various aspects of choosing the right equipment.
While it’s fun to see photos of beautiful home studios on Instagram, don’t forget that there are many factors that you need to consider when it comes to making a successful recording space. In this tutorial, we will discuss all the equipment you’ll need to make great music at home. We will also give you a list of places that will allow you to start recording your guitar.
Recording Guitar at Home | What Gear do You Need to Choose?
Whether playing in your bedroom or a recording studio, your guitar needs to sound the best it can. In addition to being the best, you also need to be able to fix poor audio signals and ensure that your jack socket is working properly. Even recording a scratch demo can become a draining experience if your signal is interrupted.
Although limitations can be inspiring, they shouldn’t prevent you from developing your creativity. Just tune-up and make sure that your instrument is comfortable at room temperature. Also, make sure that your signal chain is in good condition.
Aside from your instrument, ensure that your other components are also in good shape.
Although it’s relatively easy to start recording music at home, it takes a lot of equipment. The first thing that you need is a good computer. In addition to being able to monitor your instruments, this also needs to be equipped with an audio interface that will let you feed the signal directly from the instruments. To set up a recording studio you alson need a good software package.
This tutorial will show you how to use various components to create audio tracks and voiceovers for your videos. In addition to being able to create professional audio tracks, this tutorial will also help other musicians, and video artists create voice overs for their podcasts and audio projects.
Right Interface
Ever wonder how a computer can reproduce sound? Well, it’s a digital device, and everything that it can hear has to be zeros and ones. This means that music is not included in the computer’s repertoire.
A simple audio interface for your tablet, laptop, or desktop is the best way to plug in. In most cases, the less expensive components will give you more power for other things, such as monitoring and cabling. Ideally, you’ll want a pair of quarter-inch jacks and two balanced outputs for monitors and headphones.
If you’re planning on using software-based plugins to create electric tones, then you’ll probably not need a lot of equipment apart from a pair of headphones. An audio interface is typically the main device that connects your audio equipment to your computer. It doesn’t require a soundcard to work, eliminating the need for a separate device. While it’s mainly used for audio, it can also function as other audio components.
An “audio interface” is a device that converts the signal that your instruments and microphones are sending to a device which is using by your computer. There are various audio interfaces, but all of them do the same thing. One of the most common interfaces that comes with a single input for a microphone and a second one for an instrument is a basic audio interface. These are usually very affordable, but before buying one, it’s essential to figure out how much work it will take. An audio interface should also be able to handle low latency and provide good sound quality. Most modern devices support USB 2.0, but more devices support USB 3.0.
Recording Guitar at Home | Minimal Latency and Good Monitoring
One of the most critical factors you should consider when it comes to high-quality recording is monitoring. This is because, without proper equipment, you’ll end up with a distorted audio signal that will feel unnatural. Having the best monitor speakers and headphones is also important to ensure that you’re getting the best possible audio.
One of the most important factors that you should consider when it comes to high-quality recording is monitoring is having the proper equipment. External digital signal processing (DSP) can help reduce the load on your CPU, and interfaces can provide amp modeling solutions free from computer-based latency.
Monitors, unlike house speakers, are not intended for music listening. Having the necessary gear is critical to ensuring that you are operating efficiently in your home studio. Having the right monitor location and size is also vital for making the most of your recording studio.
Most people use speakers to obtain the greatest audio possible. They are usually adjusted to give greater bass and mid-range wavelengths in order to sound more appealing. However, this might cause problems in a blend.
Studio monitors are intended to provide more precise reproduction than the home speaker. You can also modify them to produce the greatest audio possible. Many monitors may include built-in microphones for testing calibration.
Knowing the Hertz
The bit depth and sample rate of digital audio are two components that are commonly used to describe the resolution of an audio file. The CD rate refers to the rate at which audio is recorded, while the video rate is the rate at which video is played. If you’re looking for high-quality audio, then the standard sample rates of 44.1kHz, 96kHz, and 192kHz are all multiples of these two.
Despite the debate about the optimal audio sample rate, there are some advantages to recording audio at 88.2kHz or 96kHz. The greater the sample rate, the more disk space it requires, and for most applications, 44.1kHz and 48kHz are adequate. However, experiments with higher rates as software or equipment may behave differently. Although 16-bit isn’t precisely the same as human hearing, 24-bit is the best choice when converting audio. Most digital converters will operate at this level.
Recording Guitar at Home | Kill the Buzz
Before you start recording, make sure that you’re not adding too much noise to the mix. You can do this by reducing the amount of noise from various sources, such as computer monitors, lights, and mobile phones. Move your guitar around to find out which sources are the noisiest and which are the least.
If you’re using audio connections to connect various power sources, such as your laptop and amp, make sure that you connect all of them to the same power point. Also, make sure that you activate the ground lift switch and keep apart the power cables. You can also check the ratings of the socket fuse to make sure that all of the power is flowing from the same point.
A Level Playing Field
Even if the source is dirty, try to record a clean signal. Setting the interface input level to a certain degree will help prevent distortion. Also, make sure that the A/D converters doesn’t get distort the audio.
Setting the recording input level to a certain degree will help prevent clipping. Boost pedals can be very effective at boosting a valve amp’s input stage but can also severely affect your interface buffer. Try to set the input peak level to -10dBFS.
A distorted tone might have a lower peak level than a clean one, which means that you should keep it below clipping to prevent “bad” distortions. From tracking to mixing, make sure that the peak levels are well below clipping.
Recording Guitar at Home | Re-amping Rules
There are many rules when it comes to re-amping. Your guitar’s output level is typically around 20dB lower than its line level, which makes it ideal for using amps that are designed to see and operate at this level. However, it’s possible to drop the line-level output by around 25dB, which will result in some phase and frequency issues, but this is very small. If you have an interface that supports re-amping, you can easily do it.
Getting back to playing the guitar is a rewarding experience, as it allows you to take advantage of the various effects that have been built into your instrument. Reamping also will enable you to get a taste of the dual-overhead sweet spot.
Recording Guitar at Home | Which Room Should You Choose?
While recording on your own is usually the most common method of doing so, it’s also important to note that the space that you choose to use can have a significant impact on the audio quality of your work. Fortunately, there are several easy steps that can help you make the most of your home recording space.
A room sound is a type of audio that you can capture using a microphone. Aside from the sound that you’re recording, it also includes the various objects and sounds that are around your room. This is how the sound you’re capturing can make it into your recordings. No two rooms can sound the same. In addition to the audio that you’re capturing, other things that are around your room also contribute to the sound.
There are two types of approaches when it comes to room sound: try to minimize it or embrace it. Most of the time, we focus on the former as it’s usually the case that houses or apartments don’t sound good. However, if you can add a synthetic room sound to your recordings, you can still prevent it from interfering with the audio quality of your work. One of the most important factors that you should consider when it comes to room sound is the type of sound that you want to capture and the quality of the recording that you’re making.
In order to embrace the idea of room sound, let’s take a look at how different rooms in your house or apartment might sound. While no two rooms can sound the same, each room can have its own unique audio quality.
Recording Guitar at Home | Conclusion
Although it’s relatively easy to start recording music, it can be hard to master. Learning how to do it properly involves taking the time to learn all of the necessary skills.
Today, it is easier than ever to record music at home due to the availability of technology. If you are looking for a professional and easy-to-use tool for recording guitar at home, Deplike GuitarFX is the perfect choice. Simply plug your guitar into GuitarFX and get the most realistic tones on the market with no latency! There are many amps and pedals you can choose from and it is compatible with Mac, Windows, iOS and Android which allow users to record with a small device while producing professional grade results.


